Sunday, August 25, 2013

Fix Curtain Rod, Fix Shelf and Some Planting

This post has a few small things that I've done lately.

1.  Fix the Curtain Rod

OK so I came home from work one day a few weeks ago to notice that my beautiful curtains had been pulled down.  Big sad face.  Of course my children both looked at me blankly like they had no idea that anything had happened.  Then they blamed the cat.

You can see in the pic below that the curtains are piled on the sofa. 
So it looks like the screws and wall anchors totally failed with the weight of the curtains over time (plus probably some pulling on by the kids cat).
I pulled out the bracket and still had one screw/anchor left in the wall.
So I searched in my toolbox and decided that these wirecutters could grab the anchor and pull it out.

Here it is.  Too flimsy for the big heavy curtains.


So, not sure what to do.  I looked at the holes to see if a larger anchor would work (like the ones below) but the holes were already too large.

Then it dawned on me to try and find a stud (duh!).  I love these moments of revelation.  Followed by, why the heck didn't I just use the stud to begin with.  Guess I like doing things twice. 

I found the stud by hammering in a small nail (had to do this a few times).  Then I used my level to redrill the screwholes.


And reinstalled the bracket (this picture makes it look like its not level, but it is).

I got this sample of 3M Patch at the Haven conference and filled in the old holes.

Waited a bit and sanded.  Since my walls are painted white and since the curtains cover these patches, I didn't actually do the touch up painting. 

And they are hanging again.


Hooray!!! 

2.  Fix the Shelf

This is one of those projects that I've needed to get to since Day 1.  This handy shelf/cabinet thing in the laundry room is wobbly and won't hold the middle shelf so its been basically unusable. 

This is a great storage space, in the laundry room right off the kitchen.  Since this is a small space and I need as much storage room as possible I wanted this shelf to sit real close to the wall, but the shoe molding was in the way (so was the baseboard but I could live with that.

So I used my jigsaw to just trim a little bit off the bottom. 

I cut the back corner off.  Also, the little feet on the bottom of the shelf unscrewed a bit to help lift the shelf over the shoe molding. 

Then I used a little L bracket to secure the shelf to the wall (I used my nail trick to find the stud again).


And now I can actually use this shelf. 

3.  Add Some Plants

So its nearing the end of summer and I'm finally getting around to doing some planting.  The planter on the right (below) was pretty sad.
Like I said...

I bought these pansies from HD and used some ORB spray paint on the planter.

Much happier.  :)


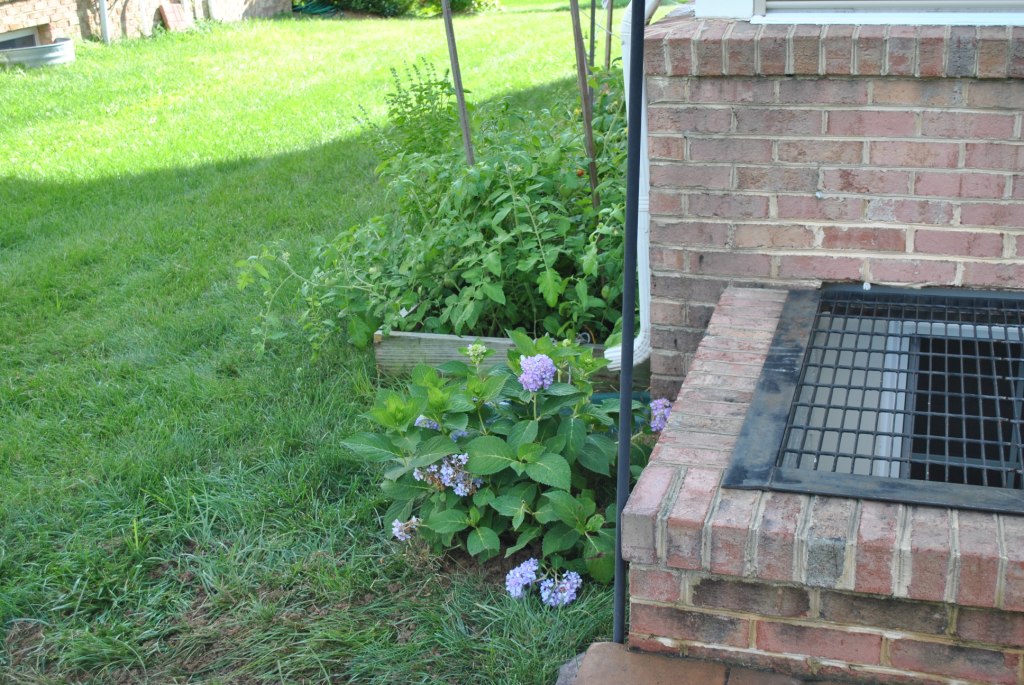
Also, we added another hydrangea.  Alex dug the hole.
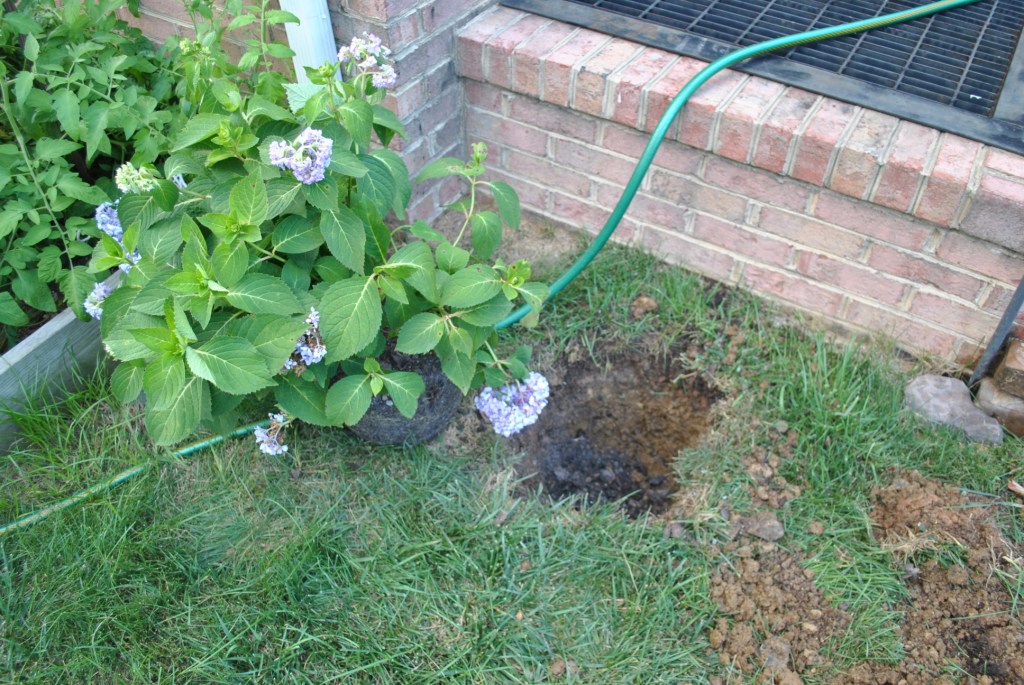
And its all planted.  I just hope I don't kill it.  (crossing fingers)
Friday, August 9, 2013

Front Yard Cleanup

After living in this house for 3 years we finally got around to tending to the front yard. Finally. For the past 3 years, it looked like this (possibly a little less overgrown):


And now it looks like this:

We hired out this job. It was too much for us. The landscapers had a truck full of clippings and ground cover (which was removed completely) filled by the time they were done. Plus it took them most of the day. Yikes, I can't imagine how long it would have taken us.
Here are some more before and after pics:


Monday, August 5, 2013

Haven 2013--What I Did, What I Learned, and The Swag

I have a tiny, tiny blog. But I'm a HUGE DIY blog reader/fan and I was just itching to attend Haven. So, I registered back in February and Alex decided to join me and hang out in Atlanta for a few days. All I can say is that I am a super-fan/geek and I had so much fun! We flew in and arrived on Thursday afternoon. I registered and there was a cocktailparty that evening. Later on, I met Alex at the Braves game.

The next 2 days were filled with attending classes, listening to speakers, eating and socializing, and talking to vendors.
Here I am at the Advanced Painting class taught by Marion of Miss Mustard Seed and Shauna of Perfectly Imperfect.

Sandra from Sawdust Girl and Brittany from Pretty Handy Girl taught a great class on how to cut and install mouldings.


Sandra had these templates to help with crown moulding. I am making a set of these as soon as I get a real mitre saw.


Painting with Chalk Paint class.


Whitney and Ashley from Shanty 2 Chic showed us how to make a spice rack. They built the whole thing from start to finish during the class, nothing was precut.


And here is all the stuff I came home with.


I also met some super cool bloggers that I'll be friending as I go through my stack of business cards.

Thanks for stopping by!! --Adrienne

Monday, July 22, 2013

Small Tween Room in Black and White

Three years ago when we first moved into this house I was so excited to decorate my daughter's room. Unfortunately I didn't like the result. I made a few mistakes along the way, some of which could not be avoided. So, I blogged about the her first room here and here.  Here is a before picture when I first finished her room:


My daughter was insistent on the furniture style and a canopy bed.  I then made the grave mistake of taking her with me to the fabric store to select curtain fabric (which I really hated but I bought anyway), then I made mistake #3 when I had her select the wall paint. 


The only thing that I really wanted to add was some chair rail moulding 2/3 up the wall (not pictured but you can see where the green paint stopped, that is where I added the moulding).  Guess what?  My daughter hated the moulding and insisted it be taken down. 

Well, 2 years later and a constant battle with trying to keep all of her stuff organized I did a total room redo.  I cleared off the mess on the dresser, the desk, the nightstand, under the bed and on the floor.  I put all of the stuffed animals in 2 large plastic bins and put those away in her closet.  I folded and put away all the extra blankets and pillows.  I took all of the legos and put those in the closet on a shelf.  I took down all of the taped-up posters.  This room was tchotke city.  I cleared everything.  I don't have a good before picture of the mess but you get the idea.

Then I pushed all the furniture into the middle of the and took down the moulding and sanded.  And sanded.  I took down the curtain rods and patched the holes.  Most of the time she had the curtains tied up.  They were never just hanging there making the window look pretty.

Did I mention that I did all of this without my daughter's permission while she was away at summer camp?


This room is a challenge.  It is small and has 3 large windows and 3 doors.  My daughter was very particular about what furniture she wanted, and there was just a lot of furniture. 

I decided to just paint the room white.  Soooo boring, I know but since daughter was away at camp I couldn't ask her which color she wanted.  Also, I was thinking that we could always just paint 1 wall or the ceiling a color if she wanted and the rest could be white.

Then I just did an excercise in "making it work".  I knew what she would insist in having in the room so I made those things blend in.  First, she loved this cat picture that I hung over her bed.  It has a red frame and black background so that gave me the idea of a mostly black and white room.


The Little Mix pillowcase was also a must have, fortunately it has a lot of red in it so ties in the with picture frame above (can't really see this in the pic).
I also decided to just leave the window curtainless.  Very plain, I know but she was always tying up the curtains or they just looked really messy.  I could always do a valance/pelmet or roman shade in the future.

 This was the only furntiure configuration I could figure out for this room that would both fit everything and look fairly nice too.  I used her huge stuffed angry bird for a footrest. 

I knew both the chair and One Direction pillow would have to stay too.  Behind the chair I hung my daughter's artwork and some mirrors and shelves I already had.  Then I set out some of the tchotkes on the shelves.  I knew that would make her happy.
 I got 2 of the same braided area rugs from Target (on clearance, I heart Target!). 
Above the desk I have 2 magnetic boards from Ikea.  I was thinking if she needed to hang up more stuff, I could put some frames above the magnetic boards.


So, she came home from camp and.........LOVED her new room.  Whew, I got lucky.  And we are on day #4 of her actually keeping it clean!  Wonder how long that will last?

Thanks for stopping by!!

----Adrienne Linking:

The Humble Brag Supporting Habitat for Humanity

Monday, June 3, 2013

Loft Built-In Shelves are Done.....Finally

Gosh, what a project this was.  I've wanted to do my very own built-in shelves for years.  There are tons of blog posts about built-in shelves but Centsational Girl's built-in IKEA Billy shelves inspired me the most.  The way CG did some diy and used some off-the-shelf products really seemed doable for my skill level.  And CG's shelves looked fantastic.

Well, I can say that this project is d-o-n-e done and looks pretty good but it was pretty tough going and took me way longer than it should have due to procrastination and frustration.  In the end I had to admit I needed help and my husband Alex came to my rescue.

So, I left off in my last post with all of the Billys put together and sitting on a platform that we built to raise them up over the moulding and make them feel built-in.


We hauled some extra floor moulding we had in the garage up to the loft only to find out that 1)  I raised the Billys so high that the floor moulding would not completely cover the bottom of the shelf and 2) my old fashined hand saw mitre box was way too short to cut the floor moulding anyway.  Onto plan B and many, many trips back and forth to Home Depot.


I wandered the moulding aisle trying to figure out what to buy.  They didn't sell 8" floor moulding so I bought some preprimed mdf boards (I can't remember the width, maybe 5 or 6 inches?).  Since I couldn't use my short mitre box to cut it I used the next best thing I had, my jigsaw, and made some semistraight cuts.  I was getting a bit frusturated at this point so I figured my semistraight cuts would just have to be corrected with caulk, sanding and woodfiller.  I also used my jigsaw to cut a cope edge.  This came out better than I anticipated so I was very proud of myself with this btw.  I was almost done with cutting the 3 pieces I needed (front and 2 sides) when I accidentally cut through my jigsaw's cord.  Uh oh. 


Insert much you-tube watching along with more trips to Home Depot to get necessary stuff to fix cord. 


OK, moving on.  I found a piece of moulding to go on top of the mdf that would fill the gap on the bottom of the shelves.


So now the bottom of the shelves were covered.  Next, I got some thin moulding to cover up the sides of the book shelves and the gaps where 2 shelves meet.  Of course the first time I bought this moulding it wasn't wide enough to cover the seam, I got the right size on my second trip.
For the top I picked up some wide crown moulding.  I had no idea on how cut crown so it was back to You Tube for instruction (I am so grateful for the awesome people who create instructional You Tube videos).  Of course I realized that I needed a special clamp that I didn't have in order to cut the crown (another HD trip) but I was able to cut the crown and match up the corners fairly well.  I'm not pointing out where I had to piece a straight section together, its not very pretty but most people won't notice.  :)


Almost done......caulk, sand, paint the trim.  Paint the back of the shelves and stick the shelves in.  I debated about painting the back of the shelves and what color to use because I am sKeeeered of color.  But, it is just a small area that I can repaint if I want to so I used the paint left over from daughter #1's room.  A really pretty turquoise.  Nice and bright.

So, here is a "before" picture (as before as I can find):


And here is an almost-completed pic, I haven't finished loading up the shelves but the TV is connected.


And the best thing I can say about this project is that it is done, aside from adding decorative things to hide the cords of course.  Really, this project wasn't hard but it took me forever and at times I seemed to have lost my DIY mojo.  Hate it when that happens.  

Thanks for stopping by!! 

-----Adrienne
TDC Before and After