Monday, September 23, 2013

Wall Art Hack

When I read this post by the uber talented Kristin of Bliss at Home I wanted to try it.  The project seemed doable for my skill level and I needed a large piece of artwork for one of my walls.  This projects cost me about $8 because I mainly used materials I had on hand.  Emily did a similar hack, as did Jesse.

First, here is the original piece from West Elm:

And here is my hack:


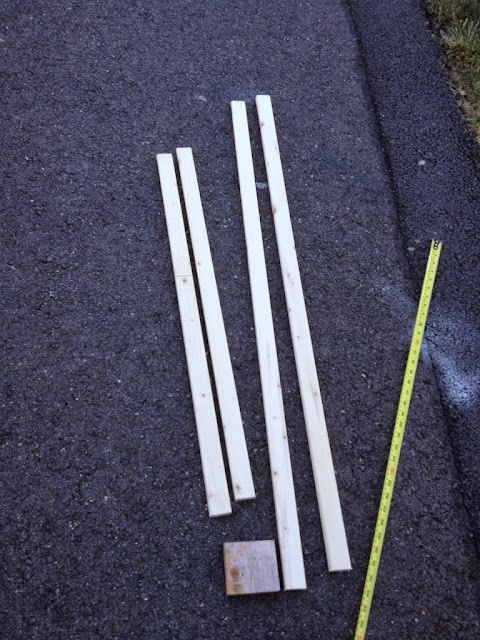
I started by scrounging in my basement for left over wood to make the frame. I found 2 long pieces of 2x1s and I cut both in half using my mitre box.  The approximate size of the finished frame is 42"x35".

I couldn't find my wood glue so I just used screws and these small square blocks of wood to create the frame.


I had some white duck cloth (purchased a while ago from Walmart) left over from another project and it was just wide enough to fit the frame.


This got pulled and stapled around the frame, starting with the middle of one side and then doing the opposite side, then the 3rd side, etc.  I pulled the fabric tight and ended up with staples around the whole frame about 1" apart. 


I don't have any pictures of the painting part.  I had some help with this (thank you Teresa!).  I did have to buy a few supplies at the craft store (white and black acrylic craft paint and cheap 1" paint brushes) that brought the cost of this project to around $8.  

Problem was I only bought 1 small bottle of black craft paint, around 2oz. With this huge canvas and the duck cloth really soaking up the paint, I didn't get all of the black lines I wanted.  So I went into my paint stash and found one of those sample pots from HD of a medium blue.  

The blue streaks joined the black streaks.  We finished with white paint, filling in all the negative space and blending with the black and blue streaks. This was the step where this piece started looking like the original and like something that I would want to hang on my wall.  


Here is some close up detail.

And here is the finished product in its new home.


---Adrienne


While They Snooze
Pinworthy Projects Party Button


Chic on a Shoestring Decorating
The Shabby Nest
TDC Before and After

Monday, September 16, 2013

Baseball Pitching "Recycle Receiver"

The end of summer and start of school also means a new Little League baseball season – “fall ball” for my son, Corey. 


Corey has been given the opportunity to pitch for his team this season, but he’s never pitched in a league before and we haven’t practiced pitching that much either. And as it’s getting dark earlier, I’m not likely to make it home from work each day to practice with Corey before dark. What to do? Well, putting a few thoughts together and assessing our resources (see below), I came up with a plan... 


Without me, Corey is only really missing a receiver because he has his arm and a nice bucket of 30+ balls (plus the makeshift rubber). So why not make a “receiver” that he can throw to and that ideally will give him feedback? 

Fortunately, we happen to have an old recycle bin from the sanitation company that no longer serves us because we moved (and changed sanitation companies), and this recycle bin is virtually the same dimensions as a Little League strike zone. It just requires some elevation to get to about knee level. Eureka! Let’s place it on top of a milk crate. 


So step 1 is drilling holes in a side of the recycle bin that will be the bottom of the strike zone. These holes will be for threading the bungee cord from the recycle bin to and through the holes in the milk crate to fasten the milk crate and recycle bin together. 


Actually, before I drilled any holes, I stacked the recycle bin on top of the milk crate to determine where a hole on the recycle bin would line up with the milk crate holes. I tried to hammer a nail through that point to mark it. You’ll notice those markings on the protruding cluster of plastic on each side of the side panel if you look closely at the picture of the drill on top of the recycle bin – there’s a little indentation on each side of the drill (I could not get a nail to penetrate the plastic to make a full hole because of the flexibility of the side I was nailing into and the obstruction of the hammer from the top of the recycle bin). 

I decided to drill a total of 4 holes in the side of the recycle bin to lace two bungee cords between the recycle bin and the milk crate to ensure that the recycle bin would not move off the milk crate. I used a 1.25 inch spade drill bit to drill the two holes on the top level of the recycle bin side panel. I then proceeded to do the same, drilling two holes near the bottom of the same side panel on the recycle bin. 

For the bottom holes, I used a 1 inch spade drill bit to lace a smaller bungee cord through since the milk crate holes were smaller at that point. The drilling was quite easy; holding the recycle bin steady was probably the hardest part.


Above is a close-up of how the bungee cords look after I laced the cords through the milk crate. I simply poked the hooks at each end of the bungee cord up through the holes in the milk crate and into the recycle bin where I merged and hooked their hooks together to form two rows of bungee cord attachment. I have decided to call this pitching drill contraption the “RECYCLE RECEIVER.” 


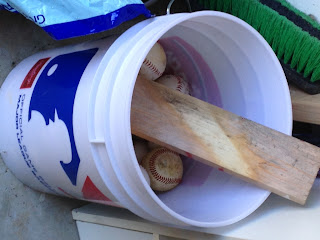
The picture of Corey above illustrates how the Recycle Receiver can function like a strike zone. Of course, to use it, Corey will not be batting next to it but, rather, will be with his bucket of 30+ balls next to him while standing on the makeshift rubber and pitching to it. 

Naturally, the name of the game is to pitch the balls into the Recycle Receiver and if the Recycle Receiver catches it . . . STRIIIIIIIIIIIIIIIIIIIIIIIIIIIIIIIIIIIIIIIIIIIIIIIIIIIIIIIIIIKE!!!!!!!!!!!!!! How’s that for feedback from a non-human receiver?

---Alex